Physical Setup
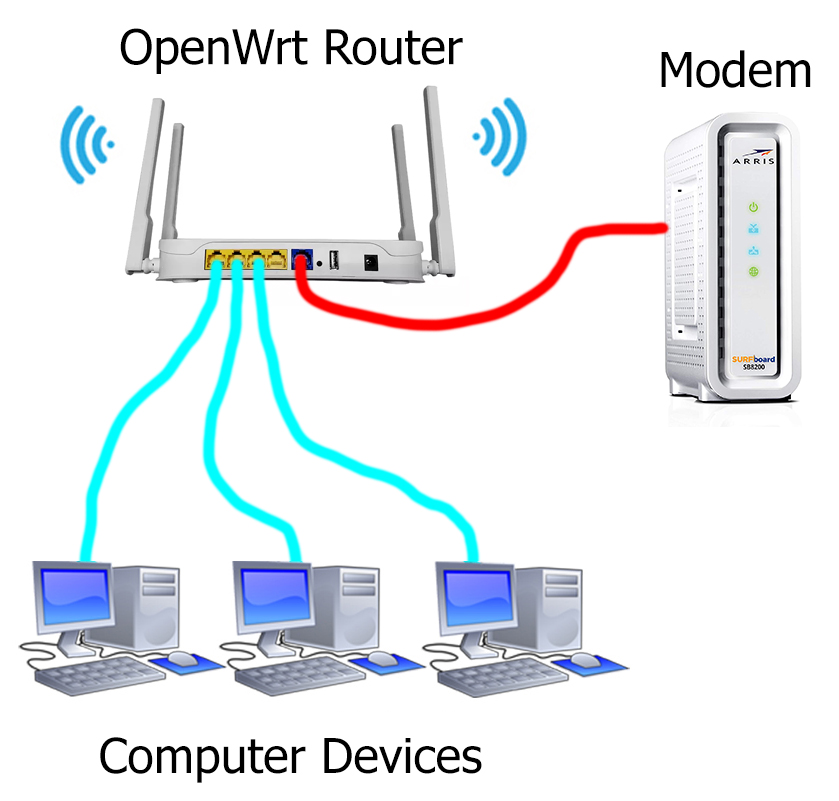
Your physical set up should look something like the picture below if you have a regular modem. Regular modems only have one Ethernet Port and no WiFi built in. If you have one of these skip to Step 1. Otherwise read on.
If you have an all in one modem with multiple Ethernet Ports and Wifi…. You need to turn off the WiFi on such modem and disconnect everything but the OpenWrt Router to the Modem.
DMZ / Bridged Mode
After the physical connections, you have to enable DMZ or DeMilitarized Zone on your modem and point it to your new router’s IP address (which is assigned by the modem). Alternatively advanced users can choose to enable Bridge Mode instead on modems that support it. If you’re not familiar with setting a static IP on your computer, please do not do bridge mode when DMZ is an option.
Comcast Instructions for enabling DMZ (Video Included): This can be done by plugging a PC into one of the modem Ethernet ports. Then you just need to type in 10.0.0.1 in the browser. After that just login and enable DMZ on the OpenWrt Router. While you’re at it disable the WiFi for the modem so it doesn’t interfere with the openWrt router’s WiFi. Finally, save your settings and that’s it!
Step 1: Testing your current max internet speeds
For this step please make sure no one else is currently using the internet but you and go to http://www.dslreports.com/speedtest
Take note of your maximum download speed and maximum upload speed. Also take note of your bufferbloat rating.
Step 2: Login Router and Adjust SQM
Login into the router by typing in the router’s IP address in your browser. You might need to do this in incognito or private mode of the browser if it doesn’t load. If you don’t know your router’s IP address you can refer to my quick tutorial here. It should be 192.168.86.1 by default.
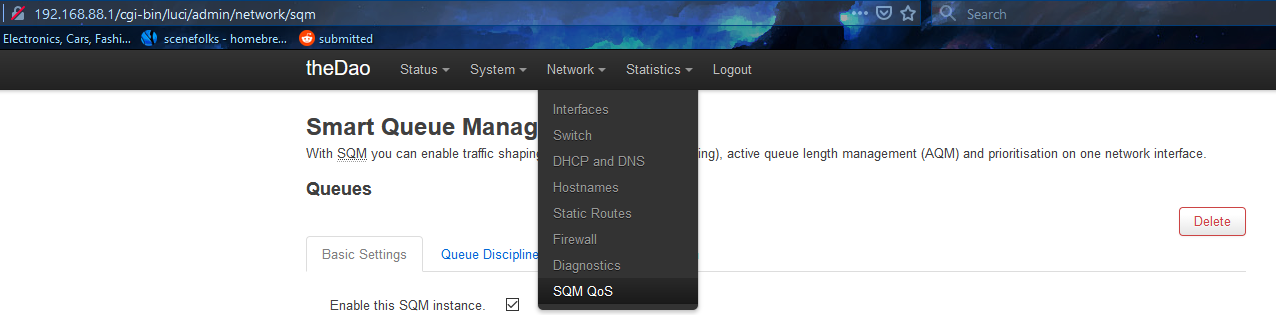
Now to adjust SQM please navigate to the Network -> SQM QoS tab.
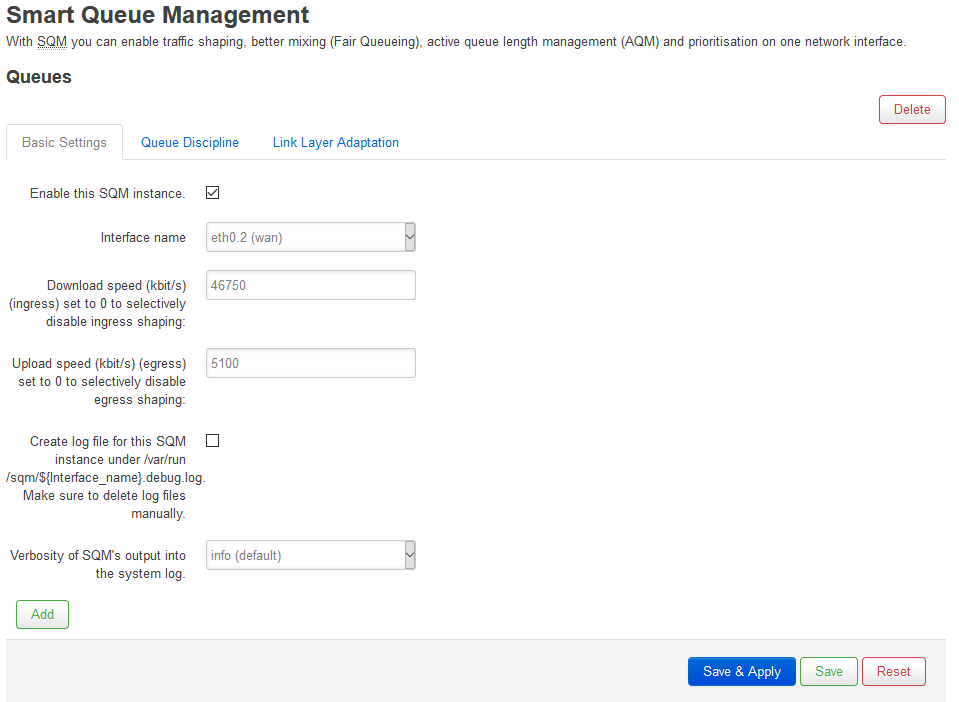
Then checkmark the Enable this SQM instance box.
Now you need to calculate roughly 85% of your max DL and UL speeds in kbits/s and enter it in. For example, if your max download speed was 55000 then you should enter in 46750 under Download speed.
As another example, if your upload speed 6000 you should enter in 5100 under Upload Speed. Then press Save & Apply.
If you enter in 100% of your DL and UL speeds SQM will not work! We’re trading off 10-15% of our total bandwidth in order to grantee low latency and minimize packet loss. It’s worth it.
See screenshot below as an example.
Under Queue Discipline make sure cake and piece_of_cake.qos are selected as well if not select them then Save & Apply.

If you’d like to use fq_codel instead choose fq_codel & simple.qos. Choose fq_codel if you plan on using this router’s WiFi. Choose cake if you’re using your own access points.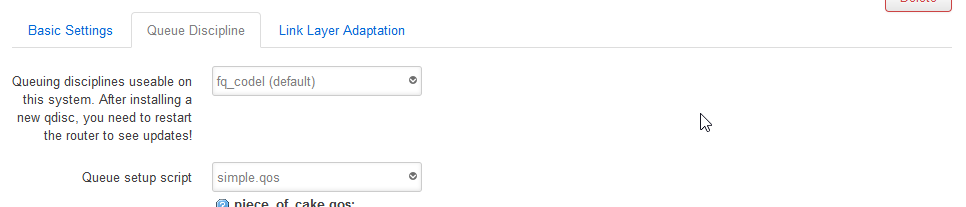
Step 3: Set up Link Layer Adaptation
-
For VDSL – Choose Ethernet, and set per packet overhead to 34 (or 26 if you know you are not using PPPoE)
-
For DSL of any other type – Choose ATM, and set per packet overhead to 44
-
For Cable – Choose Ethernet, and set per packet overhead to 22
-
For true ethernet or Fiber to the Premises – Choose Ethernet, and set per packet overhead to 44
-
When in Doubt, it’s better to overestimate – Choose packet overhead 44
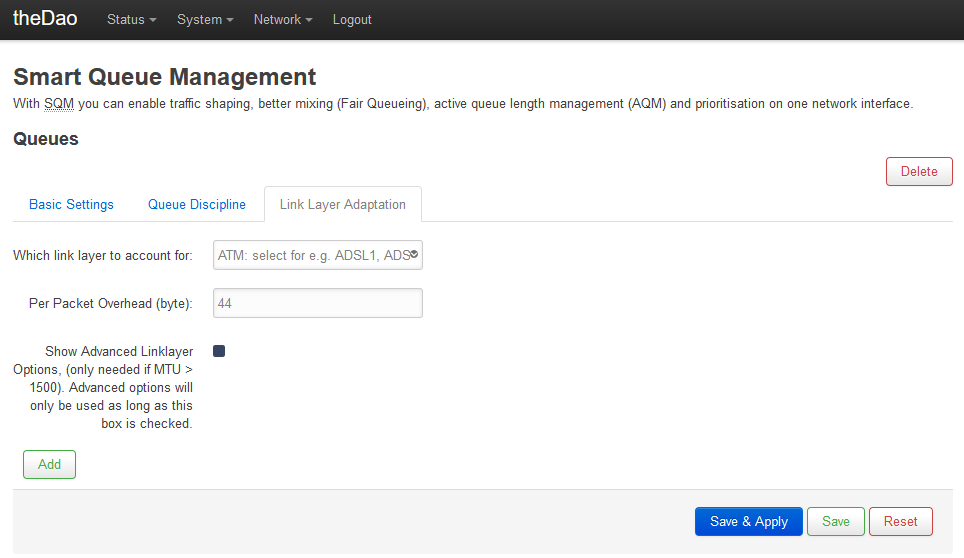
In my example I use DSL so I set ATM and 44. Then Save & Apply.
Step 3: Setting Up WiFi
This step is self explanatory. You can just set up your WiFi by going to Network -> Wireless. Then just choose your own WiFi Name (SSID) and WiFi password.
If you have your own access point you should disable the WiFi on this router and plug your access point to one of the LAN ports on the router and use that for WiFi instead.
Step 4: Optimizing max bandwidth (Optional)
Congratulations now you have effectively made your Internet at home lag free.
Go ahead and head over to http://www.dslreports.com/speedtest and run the speedtest over there. If you’re buffer-bloat rating is A or A+ that means it is working.
Now optionally you can experiment play with the 85% of your speed thing. For example, you could try 90% or your UL / DL in SQM and retest at dslreports.com. If the rating is still A or A+ you can keep it at 90%. Then you could push limits and try it at 92%. If you retest at dslreports and get a B+ or B rating at 92%…. then just go back to 90%. I do not recommend going above 95% of your max speeds.
Optional: Open up ports you need open by port forwarding
Optional 2: You’re a twitch streamer
If you’re a twitch streamer you’ll benefit from configuring the SQM further by following this guide: https://www.stoplagging.com/modifying-sqm-for-twitch-streamers/